VIDEO TUTORIAL
How to Create Two Pieces of Ocean Inspired Resin Art
Step-by-step video tutorial presented by professional resin artist Christine Richards, covering the processes and techniques involved in creating two beautiful pieces of ocean inspired resin art work.
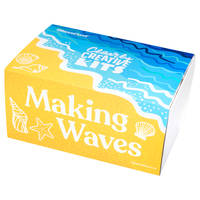
The tutorial includes full guidance of the processes needed to create an Oceanscape and a Beach Scene art work. Christine also shares professional tips which can be applied to a resin art project of your choice. The two projects are demonstrated using the Making Waves kit.
What You Will Need
What You Will Need
Materials
The process is demonstrated by resin artist Christine Richards using the complete Making Waves Clearly Creative kit which includes enough resin, materials and equipment to produce up to two ocean inspired resin artworks. The resin and pigments are all available individually giving you the option to purchase different packsizes for your project.
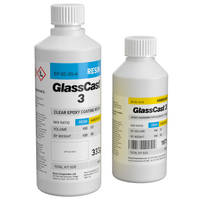
- GlassCast 3 epoxy coating resin
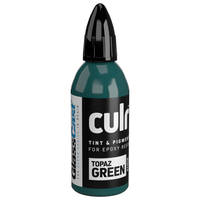
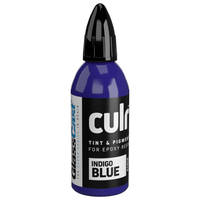
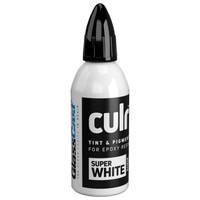
- 3 Culr epoxy pigments
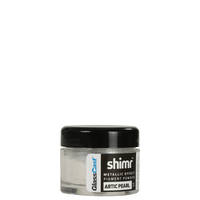
- 1 Shimr metallic pigment powder
- 2 birch-ply art boards
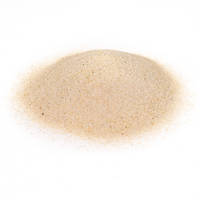
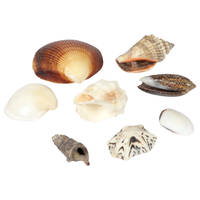
- Sand and shell selection
- Mixing cups, resin tape, sticks and nitrile gloves
Additional Items
- Eye protection
- Protective clothing and surface to work on
- Digital scales and a timer
- A Hairdryer
- A cover to protect the project during the cure
- Scissors
Step-by-Step Guide
The Oceanscape
A Full step-by-step instruction booklet is provided as part of the Making Waves Clearly Creative Kit.
- Prepare the back and edges of the board with resin tape, then place on painters pyramids (or similar) and check the board is level
- Mix up the resin and hardener for the first layer
- Divide half of the mixture equally into 3 small cups
- Add and mix in the pigments
- Create the ocean - following the diluting process with the clear resin until the board is covered
- Add the metallic accent - then use the hairdryer to carefully move and blend the resin - leave to cure
- Mix up the resin and hardener for the second layer
- Use most of the clear mixture to apply a clear layer over half/2/3 of the board - hold back a fifth of the resin
- Add the white pigment and drizzle in a line at the edge of the clear resin
- Using the hairdryer, move the white resin over the clear resin to create the wave effect
- Leave to fully cure
The Beach Scene
A Full step-by-step instruction booklet is provided as part of the Making Waves Clearly Creative Kit.
- Prepare the back and edges of the board with resin tape, then place on painters pyramids (or similar) and check the board is level
- Mix up the resin and hardener for the layer of sand and create the beach
- Mix the Resin for the Ocean, divide half of the mixture into small cup
- Add and mix in the pigment
- Create the ocean - following the diluting process with the clear resin until the board is covered
- Add the metallic accent - then use the hairdryer to carefully move and blend the resin - leave to cure
- Add and shells to the sandy beach
- Mix up the resin and hardener for the second layer
- Use most of the clear mixture to apply a clear layer over half/2/3 of the board - hold back a fifth of the resin
- Add the white pigment and drizzle in a line at the edge of the clear resin
- Using the hairdryer, move the white resin over the clear resin to create the wave effect
- Leave to fully cure
DISCUSSION (0)
Please share any questions or comments you may have about this video tutorial.
LEAVE A COMMENT OR QUESTION
USED IN THIS PROJECT
Want to buy the same materials and equipment used in this tutorial? We've got you!
Please find below a list of all the materials and equipment used in this project, all available to buy right here on the GlassCast website. Shown alongside each product is the approximate quantity used in the tutorial video, to the nearest full pack.
ANCILLARIES
RESIN & PIGMENTS
DISCUSSION (0)
Please share any questions or comments you may have about this video tutorial.