VIDEO TUTORIAL
Apply a Glossy Resin Coating to Furniture and Surfaces
Introduction
The step-by-step instructions described here, and shown in the accompanying video tutorial, cover all the general information needed to apply a hi-gloss, hardwearing finish to any table or surface using GlassCast 3 epoxy coating resin. This is demonstrated here by coating the Forged Carbon River Table we made in a previous tutorial.
Step-by-Step Guide
Overview of the Process
- Prepare the table surface, removing any high spots and flatting the surface
- Mix up and apply a sealing coat of resin over the surface
- Prepare the surface for the main pour and apply barrier tape
- Mix and the pour the main resin batch
- Trim, finish edges and fit table legs
Prepare the Surface
To demonstrate this process we have started at the point we removed the barriers from the forged carbon fibre river table project, you can apply a glossy surface coating to various surfaces but you will always need to prepare the surface.
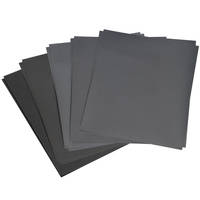
In this case, remove the high spots and flat the surface using a 120 grit abrasive on a DA Sander. If you don't have access to a power sander, or your project isn't very big you can sand by hand.
Then thoroughly clean and wipe away any dust.
Resin Sealing Coat
As wood is a porous material it's advisable to apply a sealing coat of resin before moving on to the main pour. If you were to jump ahead to the main resin pour you could risk air being drawn out of the wood into the resin and creating bubbles in the clear coat.
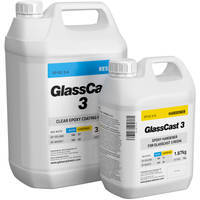
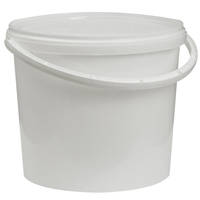
- Weigh out a small batch of GlassCast 3 resin following the 2 to 1 ratio
- Mix the resin and hardener together slowly and thoroughly for 3 minutes
- Pour the mixture into a 2nd pot and mix again -this is called double-potting and will avoid unmixed resin being used
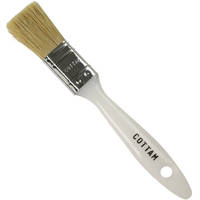
- Brush apply the resin to the whole surface of the table, making sure you get the sealing coat right to the edges
Now leave the sealing coat to reach a full cure, this will take 24 hours.
Prepare the Surface for the Main Pour
The sealing coat is now rock-solid and ready to prepare for the main pour. Flat the surface again using the DA Sander/120 grit paper and clean thoroughly once again.
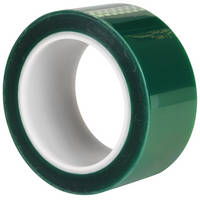
Using barrier tape, create a retaining wall all around the surface area. Run the tape around the perimeter of the table, pressing it firmly into place to ensure a good seal, make sure that you position the tape 2mm above the surface to prevent the resin from flowing over the edges before finally checking the table is level before moving on to the main pour.
Main Resin Pour
For the amazing GlassCast 3 to self level, it needs to be poured to a minimum depth of 2mm, which equates to 2KG per square metre. To work out how much you need you can use this handy resin calculator.
- Accurately weigh out the required amount of resin and hardener using the 2 to 1 ratio
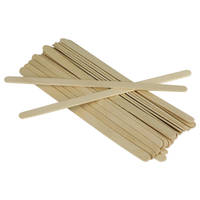
- Thoroughly mix for 3 minutes using a slow, steady motion and scrape the sides and bottom of the pot
- Double-pot the mixture to ensure a thorough mix before pouring
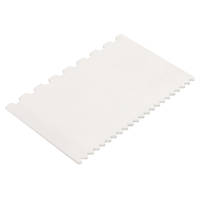
Pour the resin over the surface of the table and spread evenly using a notched spreader. Making sure that the resin goes right to the edges and the taped barrier.
Now leave the resin to fully cure for 24 hours and if possible place a protective cover over the surface to stop and dust landing on the surface.
Finishing the Table
Once fully cured, remove the barrier tape and if needed trim and finish the edges and attach the table legs.
The tape can leave a meniscus around the edge of the resin, to remove this we trimmed the edges using a table saw, alternatively you could use a power planer. To produce a great finish to the edges you will need to sand through the grits from 240 to 1200.
Finally attach the legs and give the table a final wipe down with a soft cloth and you have your finished project complete with a glass like surface!
DISCUSSION (0)
Please share any questions or comments you may have about this video tutorial.
LEAVE A COMMENT OR QUESTION
USED IN THIS PROJECT
Want to buy the same materials and equipment used in this tutorial? We've got you!
Please find below a list of all the materials and equipment used in this project, all available to buy right here on the GlassCast website. Shown alongside each product is the approximate quantity used in the tutorial video, to the nearest full pack.
ANCILLARIES

DISCUSSION (0)
Please share any questions or comments you may have about this video tutorial.