VIDEO TUTORIAL
How to Make a Glossy Penny Floor Using Epoxy Resin
In this video tutorial we cover all the information needed to produce a glossy, hard-wearing, resin coated penny floor using the GlassCast 3 epoxy resin. The tutorial includes information on preparing the floor, bonding and grouting the pennies and then pouring the resin to produce a top-quality floor to be proud of.
This GlassCast resin tutorials provides detailed instructions on how to create a stunning, glossy, resin coated penny floor. Learn how to prepare the floor, bond down the coins and grout them before preparing for the resin pour itself.
What is Covered in the Tutorial?
The following topics are covered in this detailed tutorial:
- What you'll need - list of tools and materials for the project.
- How much resin - how to calculate how much resin you'll need for your floor area.
- Laying the pennies - how to secure the coins in place.
- Grouting - how to grout and prepare the pennies for a smoother finish.
- Measuring and mixing - how to properly measure and mix the resin to eliminate any problems.
- Pouring and curing - how to pour the resin and how long to wait for it to cure.
Downloads (1)
| The Resin Penny Floor Handbook |
USED IN THIS PROJECT
Want to buy the same materials and equipment used in this tutorial? We've got you!
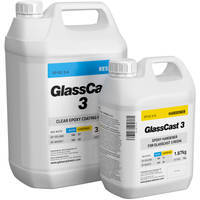
Please find below a list of all the materials and equipment used in this project, all available to buy right here on the GlassCast website. Shown alongside each product is the approximate quantity used in the tutorial video, to the nearest full pack.
TOOLS & EQUIPMENT


MATERIALS & CONSUMABLES
